
Is your Raspberry Pi Zero 2 W dead?
Don't panic. Raspberry Pi boards have an exceptionally low hardware failure rate. Over 99% of "dead" boards are actually working fine but suffer from accessory or configuration issues.
Understanding the LED
Critical Concept
Most users assume the green light is a "Power Indicator" like on a TV. It is not. It is an Activity (ACT) light controlled entirely by software.
Use the simulator to understand when the light turns on.
Key Takeaway:
- No SD Card = NO LIGHT
- Corrupted OS = NO LIGHT
- Light only works if the Pi can read the bootloader.
Why isn't it working?
Before assuming the hardware is broken, look at the data. The vast majority of "dead" units are caused by two simple factors.
Estimated probability based on support cases.
Insufficient Power (45%)
Generic chargers drop voltage under load. Cables cause voltage drop. Even if it says "5V", it might dip to 4.5V, causing a crash.
SD Card Issues (45%)
Corruption from power loss, or low-quality cards failing. Strict Requirement: Use only branded cards (SanDisk/Samsung) with an A1 rating for reliable booting.
"Fake Dead" (5%)
Network issues. The Pi is on, but WiFi sleep or IP changes prevent connection.
Hardware/Other (5%)
Overheating, static discharge, or actual factory defect. This is rare.
Interactive Troubleshooter
Answer a few questions to pinpoint the issue.
What is the status of the Green LED?
Assembly & Installation Tips
Small details that prevent major headaches during setup.
Peel Off Protective Film
Acrylic case panels come with a brown or clear protective film. Failure to remove this is a common mistake that makes the case look opaque and can cause fitment issues.
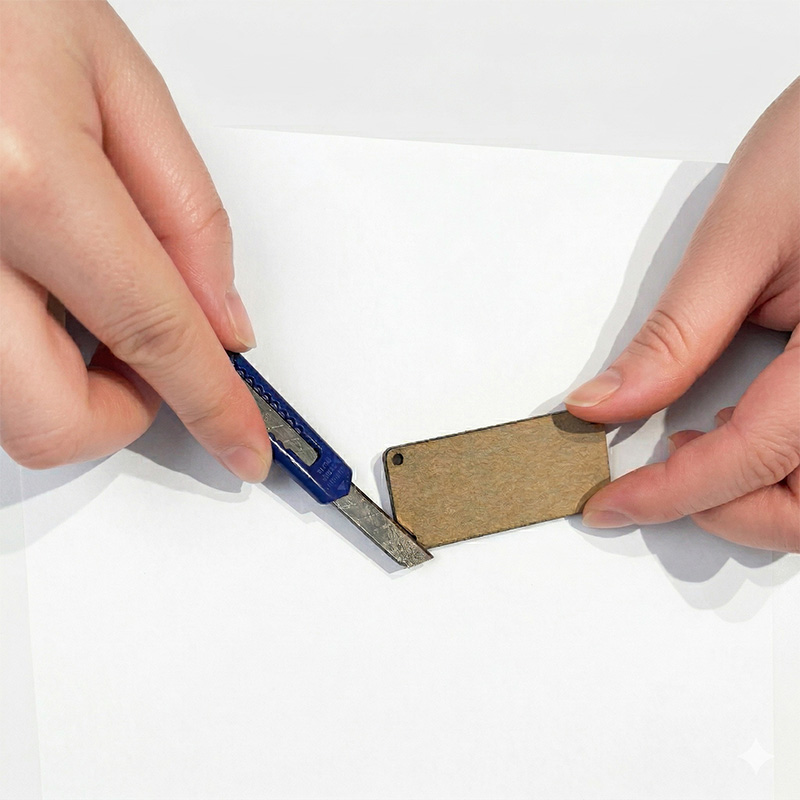
Scratch corner with a blade
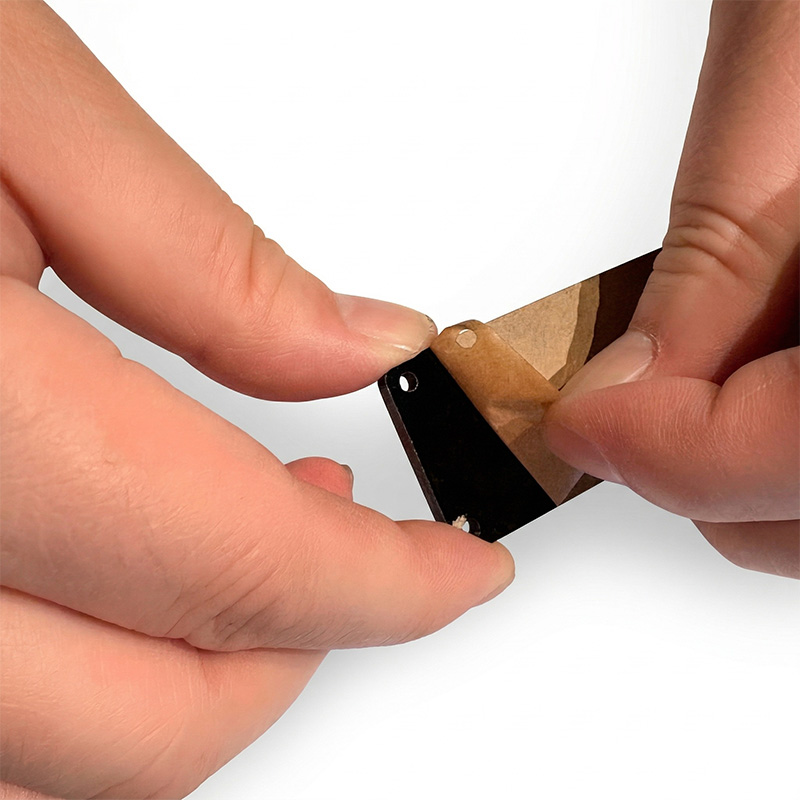
Peel it off by hand
Card Reader Orientation
Inserting the microSD card upside down into the USB reader can lead to the card getting permanently jammed inside. Always verify the direction.
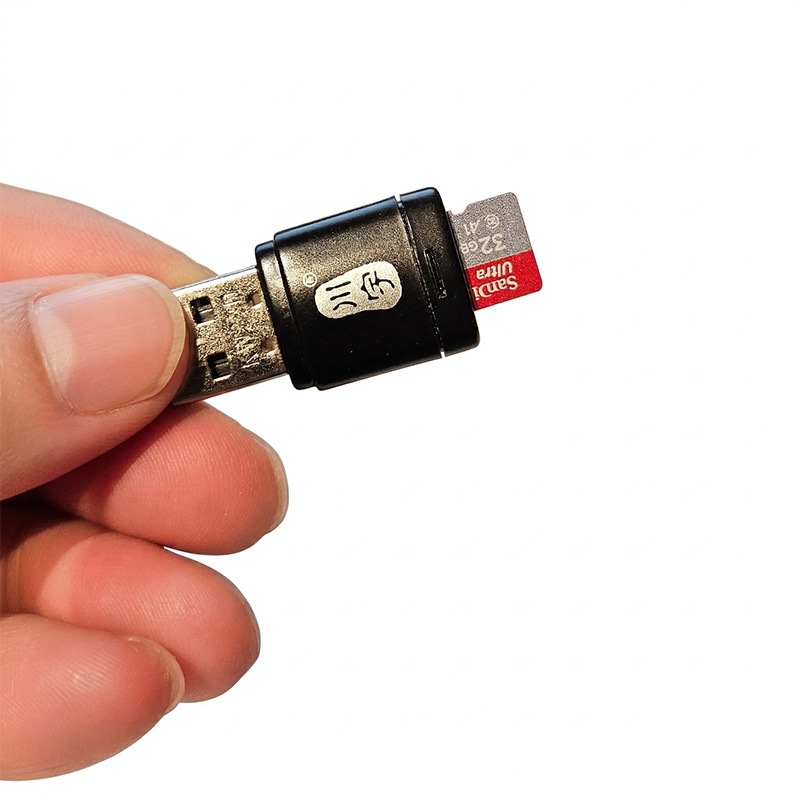
SD Card Quality Requirement
To ensure system stability, you MUST use a card from a reputable brand (e.g., SanDisk, Samsung, Kioxia) with an A1 (Application Performance Class 1) marking. Non-A1 or generic cards often fail during the Pi's heavy read/write operations.
The "Sanity Check" List
Perform these final tests before requesting a return.
The "No SD" USB Test
Remove the SD card. Plug Pi into a PC via USB. Listen for a connection sound or check Device Manager. If detected, the hardware is ALIVE.
The Fresh Install
Do not trust the current OS. Format and re-flash using Raspberry Pi Imager. Check: You must use a branded A1-rated card (e.g. SanDisk Ultra).
The Power Swap
Try a different 5V 2.5A adapter and a *different* USB cable. Cables are the #1 cause of undervoltage.